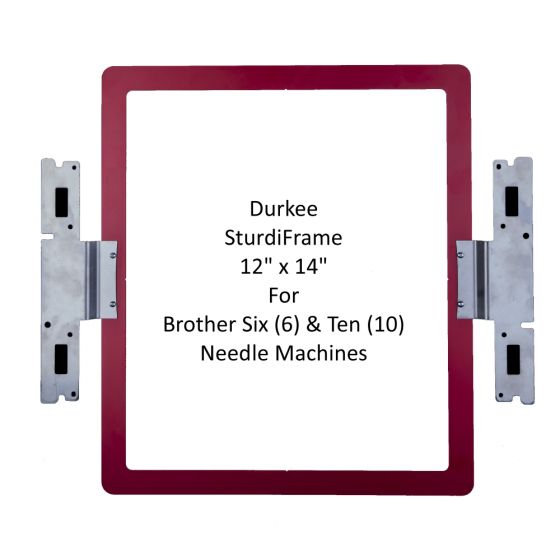
Durkee Hoop SASTURDY12X14 12 x 14 hoop for 6 and 10 Needle Embroidery Machines
$199.95
In stock
SKU
64152
Durkee Hoop 12 x 14
This hoop will work with PE-DESIGN 8 – 11. The instructions below are written in PE-DESIGN 11. Your version may differ. Check your software manual to find where to locate Design Page Settings if you are using a different version of the software program. The setup steps may differ in your version, but the settings will be the same.
Compatible with All models of Brother 6 and 10 Needle Embroidery Machines
You should make sure you have either a support table or Tubular arm support on the machine before using the hoop.
- Make sure your system unit is metric
- In Layout and Editing, click on the Design Settings icon (in Version 11 it is on the Quick Access Toolbar). Alternately, you can Choose Design Settings from the application button.
- Choose Custom size.
- Change the Section size to 290x190
- Set the Width to 290 and the Height to 370 and then click OK.
- The design page is now ready to create your embroidery project.
- Create your project or import your embroidery design onto the hoop.
- Secure Adhesive Backed Stabilizer (SA5815) to the bottom of the Durkee hoop.
- When the embroidery is designed, place a USB device into the computer and press Send and then Send to USB. Or you can Save the design to a USB device from the Application button.
- At the machine, insert the USB into the USB slot. Press the Retrieve from USB button.
- Touch the thumbnail of the complete design
- Touch Aa to open the first half and then touch Set.
- Touch Embroidery
- Use the center up arrow to move the design as close to the embroidery arm as possible (this gives you the most wiggle room to align side 2).
- Embroider side Aa. (Make sure you embroider the alignment line that the software added. This will allow you to align the design on the other side.) When the design is finished, choose OK to embroider the next segment.
- Remove the hoop and Rotate it 180 degrees and then put it back into the machine.
- Touch Ba and then touch Set.
- Touch End Edit.
- Touch Rotate and then Rotate 90 degrees (left or right) 1 time.
- Touch OK.
- Touch the Starting Position Key .
- Touch the Bottom right point. and then touch OK.
- Line up the LED droplight with the basting stitch line that was stitched at the end of Aa.
- Move the design until the LED droplight is lined up with the alignment line stitched by the first half of the design.
- To double check, you can touch the lock button and then needle down to make sure the needle is dropping in the correct position. If the position is correct, you may finish the design. It is important to make sure the needle drops in the exact position as the first basting stitch. Once the needle is aligned with the basting stitch you are ready to embroider the second half of the design. Note: you can advance the color to bypass the basting stitch after you have the needle aligned if you don’t wish to embroider it for the second half of the design.
- Touch Embroidery.
- Embroider Ba. When asked if you want to embroider the next segment press Cancel. The embroidery is complete.
| SKU | 64152 |
|---|---|
| UPC | 792057425812 |
| Part Number | SASTURDY12X14 |
| Condition | New |