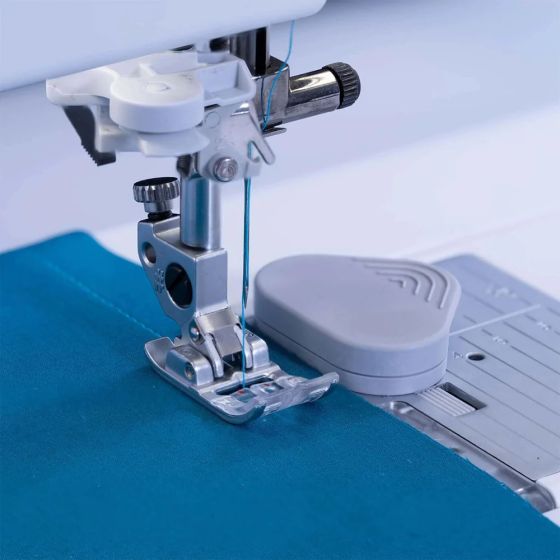
- Guide in the center of the foot keeps the two fabrics evenly spaced
Compatible with Pfaff Models
Category B
Machines with 5,5 mm stitch width, without IDT™ system
hobby™ 1042, 1040, 1032, 1030, 1022, 1020, 1016
Category C
Machines with 5,5 mm stitch width, without IDT™ system
expression™ 2014
tiptronic™ 6112, 6110, 2020, 2010
select™ 2.2, 2.0, 1528, 1526, 1520
hobby™ 4260, 4250, 4240
Category D
Machines with 5,5 mm and 6 mm stitch width, and IDT™ system
select™ 4.2, 4.0, 3.2, 3.0,
select™ 1548, 1546, 1540, 1538, 1536, 1530 (5,5 mm)
tiptronic™ 6270, 6250, 6232, 6230,
tiptronic™ 6152, 6150, 6122, 6120 (5,5/6 mm)
stretch & jeans™ 6091 (6 mm)
freestyle™ 1527, 1522
Category E
Machines with 6 mm stitch width, and IDT™ system
creative™ 2124
quilt expression™ 2046, 2044, 2042
expression™ 2036, 2034, 2028, 2026, 2024
classicstyle™ 2029, 2027, 2025, 2023
tiptronic™ 2040, 2030, 2020, 2010
Category F
Machines with 9 mm stitch width,
without IDT™ system
creative™ 7560
Category G
Machines with 9 mm stitch width, and IDT™ system
creative™ 2170 , 2144, 2140, 2134
creative™ 7570, 7562, 7550, 7530
performance™ 2058, 2056, 2054
quilt expression™ 2048
expression™ 2038
Category J
Machines with 9 mm stitch width, and IDT™ system
creative sensation™ pro II
creative sensation™ pro
creative sensation™
creative vision™
creative performance™
creative™ 4.5, 4.0, 3.0, 2.0
performance™ 5.0, 5.2
quilt expression™ 4.2, 4.0, 720
expression™ 3.5, 3.2, 3.0, 2.0
expression™ 150, 710
Category K
Machines with 7 mm stitch width, and IDT™ system
creative™ 1.5
quilt ambition™ 2.0, 630
ambition™ 1.0, 1.5, 155
ambition™ 610, 620
ambition essential™
passport™ 2.0, 3.0
Machines with 6 mm stitch width
SMARTER BY PFAFF™ 260c,160s,140s
Category L
Machines with 9 mm stitch width, and IDT™ system
creative icon™ 2
creative icon™
performance icon™
How To Use:
1. Set machine for zigzag or decorative stitch. Needle position will vary according to stitching position desired.
2. For narrow edge topstitching, place the center guide of the presser foot against the fabric edge.
3. Move the needle into the desired left position and topstitch.
Lace/Edge Joining:
Position lace or finished fabric edges on either side of blade of foot and join together with zigzag or decorative stitch.
Sewing lace to fabric:
Place the folded/pressed edge of your fabric to the left of the center guide and the finished edge of your lace to the right of the center guide. Both fabric and lace should be placed under the foot, right side up. The center guide will keep the fabrics properly separated to allow for more precise stitching. Choose a zigzag stitch and sew, catching the edge of the fabric and the lace. Adjust the width and length of your zigzag as desired.